Appearance
基础部分
Level 1
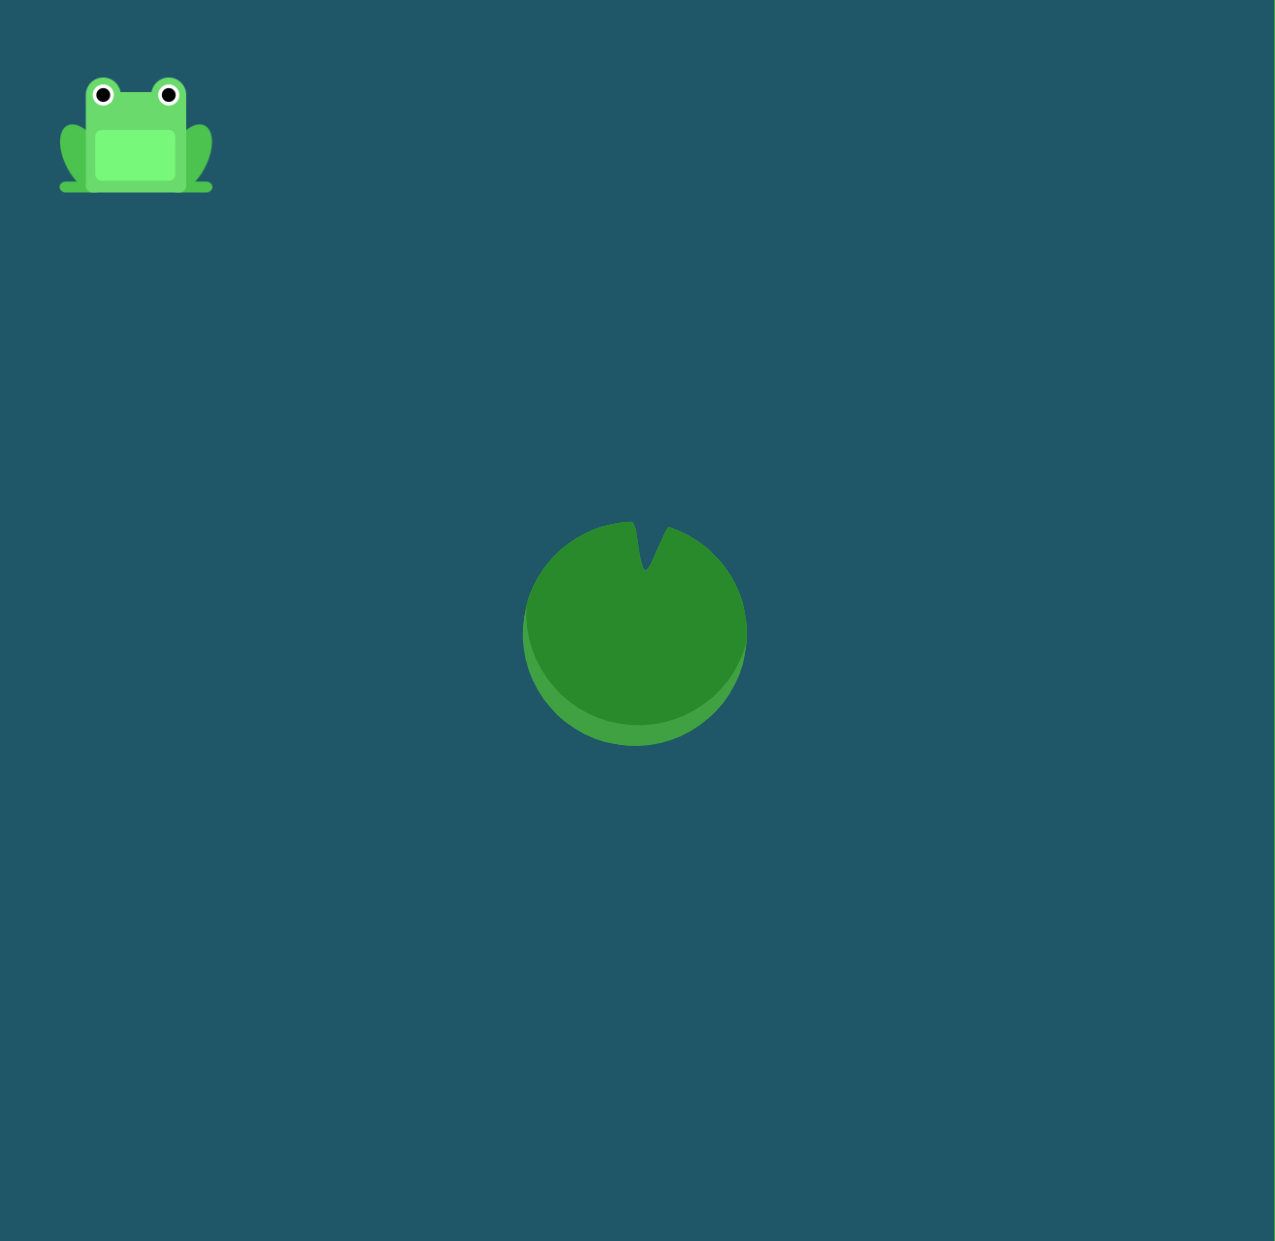
欢迎来到 Flexbox Froggy,这是个通过编写 CSS 代码来帮助青蛙和它的朋友们的游戏。使用 justify-content 样式来引导青蛙到右侧的睡莲。
justify-content 用来设置元素的水平排列顺序,它接收以下值:
flex-start: 元素在容器中居左排列flex-end: 元素在容器中居右排列center: 元素在容器中居中排列space-between: 元素之间间距相等space-around: 元素周围间距相等
例如, justify-content: flex-end 将会移动青蛙到右侧.

ANSWER
css
#pond {
    display: flex;
    justify-content: flex-end;
}Level 2
再一次使用 justify-content 帮助这两个青蛙到它们各自的睡莲上。
再来温习一下它的属性值:
flex-start: 元素在容器中居左排列flex-end: 元素在容器中居右排列center: 元素在容器中居中排列space-between: 元素之间间距相等space-around: 元素周围间距相等

ANSWER
css
#pond {
    display: flex;
    justify-content: center;
}Level 3
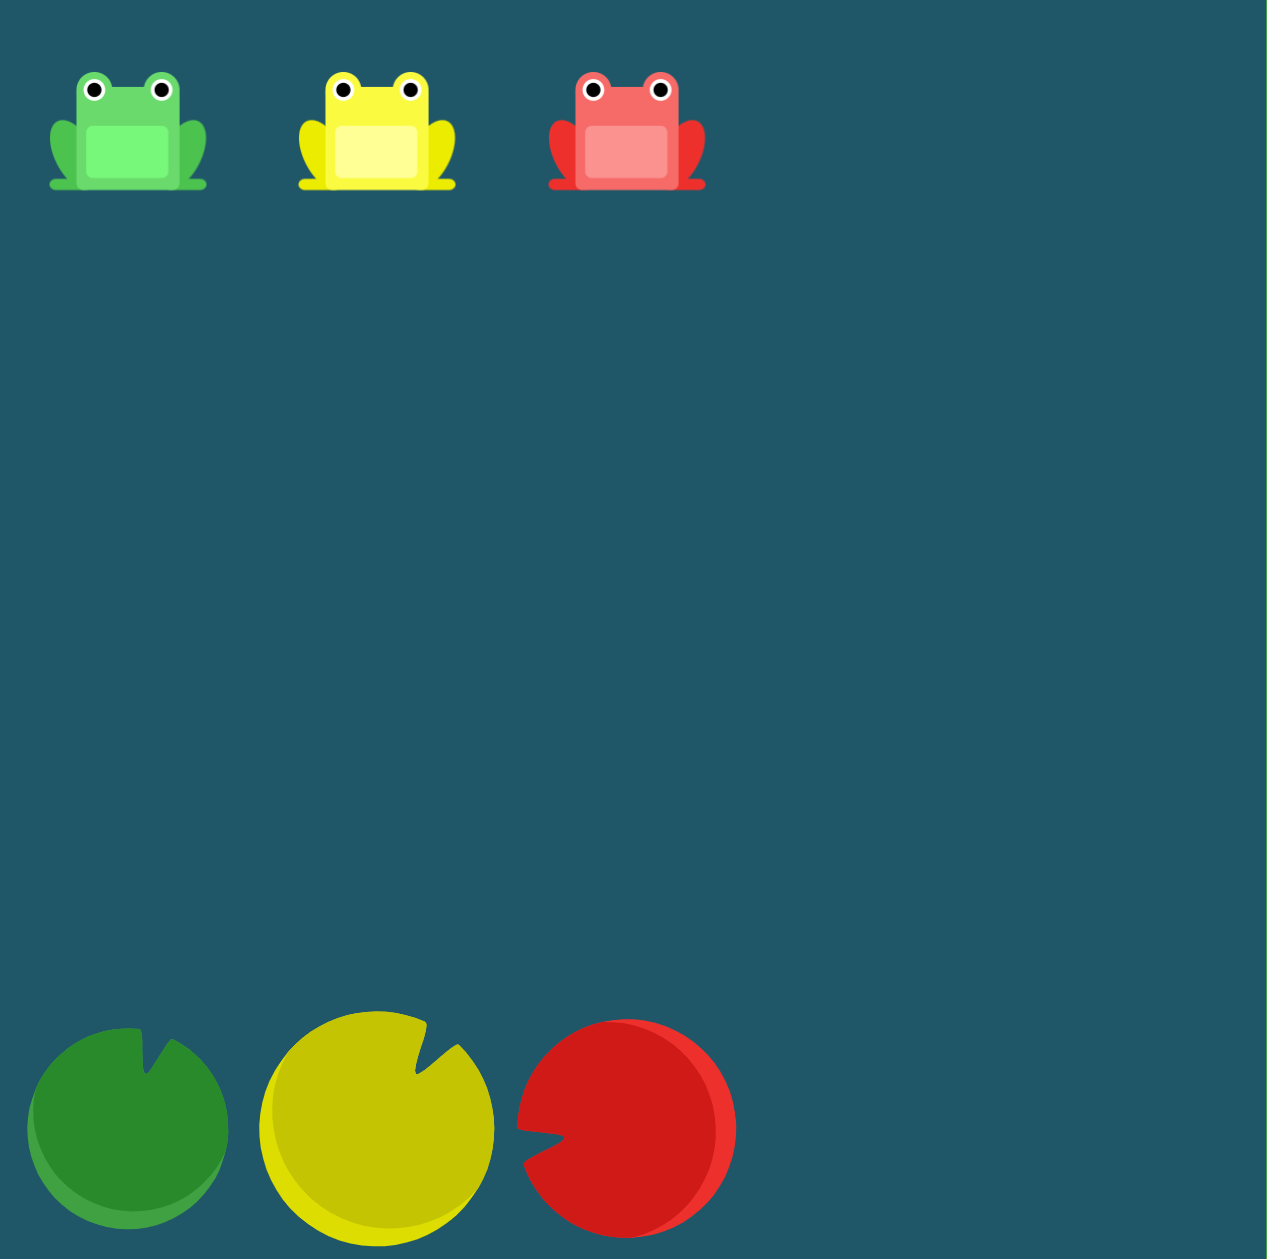
使用 justify-content 帮助全部三只青蛙到达各自的睡莲上,这次睡莲在各自的周围有相同的间距。
在本游戏中,如果你忘记了属性值,你可以点击对应的属性名来查看。试一下点击 justify-content。
你可以在原网站中点击,这个笔记中不让点(因为不好做)。

ANSWER
css
#pond {
    display: flex;
    justify-content: space-around;
}Level 4
这次位于边上的睡莲飘到了对岸,增加了之间的间距。使用 justify-content,让睡莲之间具有相等的间距。

ANSWER
css
#pond {
    display: flex;
    justify-content: space-between;
}Level 5
使用 align-items 帮助青蛙到达池塘底部。这个 CSS 属性可以使元素纵向排列,它接收如下值:
flex-start: 元素在容器顶部排列flex-end: 元素在容器底部排列center: 元素在容器内纵向居中排列baseline: 元素在容器的基线上显示stretch: 元素被拉伸以适配容器

ANSWER
css
#pond {
    display: flex;
    align-items: flex-end;
}Level 6
将 justify-content 和 align-items 组合起来使用,带领青蛙到达池塘中央。

ANSWER
css
#pond {
    display: flex;
    justify-content: center;
    align-items: center;
}Level 7
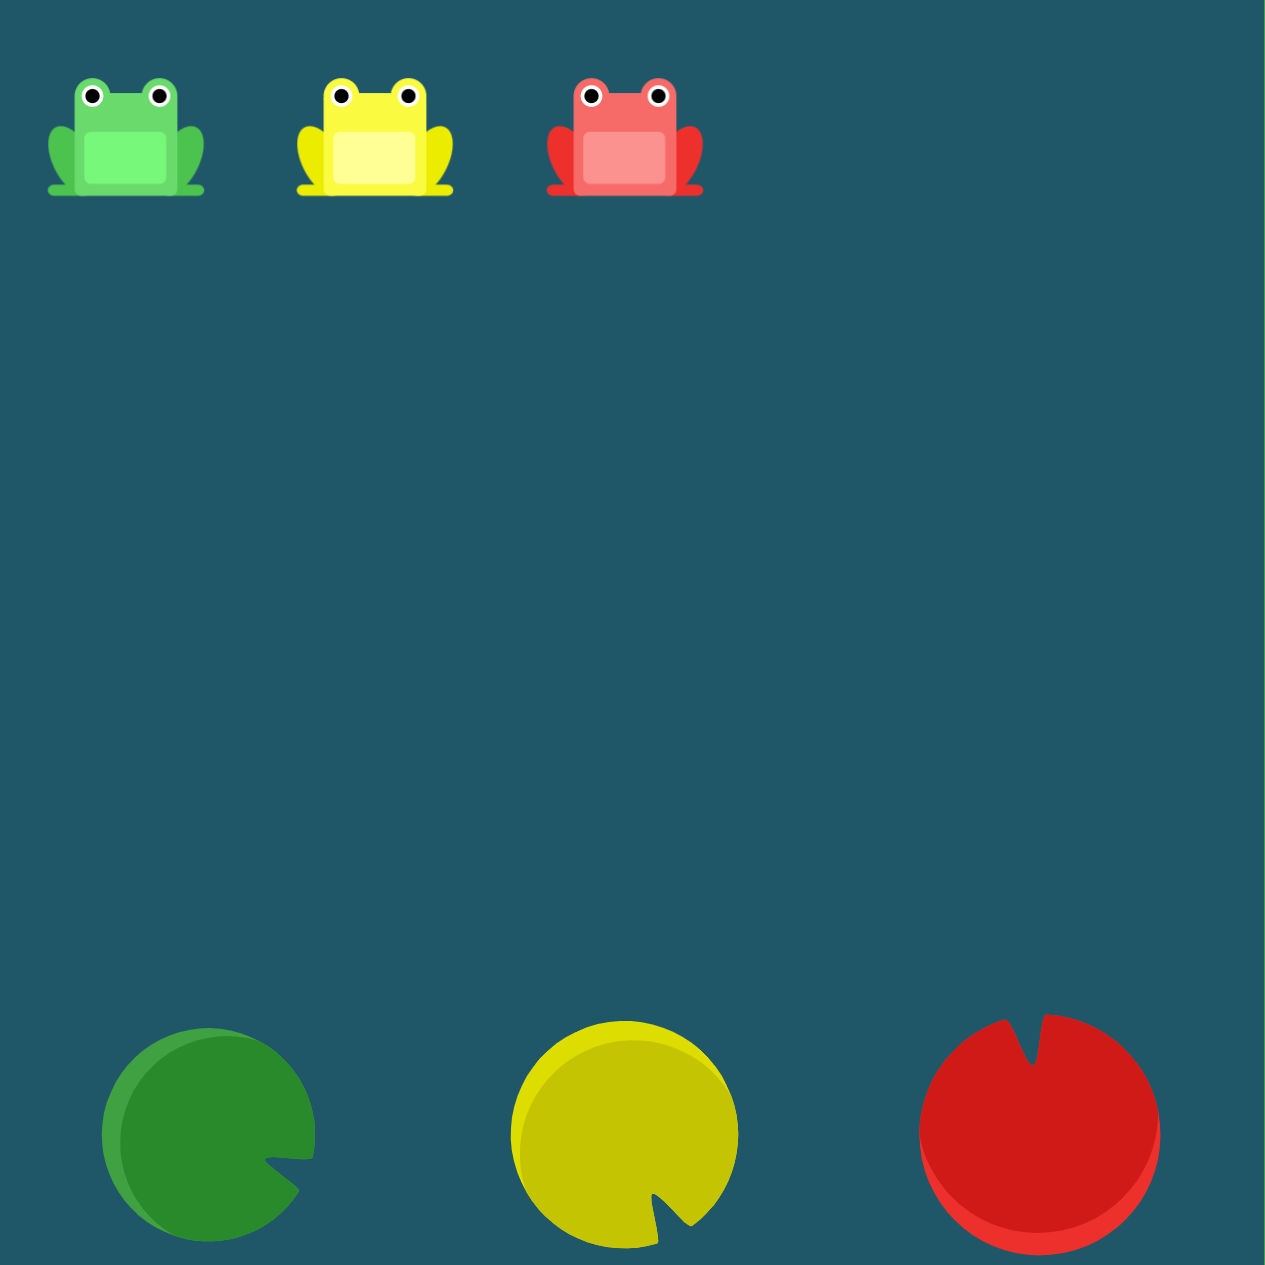
青蛙们需要再穿越一次池塘,这次睡莲周围有足够的间隙。同时使用 justify-content 和 align-items 来帮助青蛙们吧。

ANSWER
css
#pond {
    display: flex;
    justify-content: space-around;
    align-items: flex-end;
}